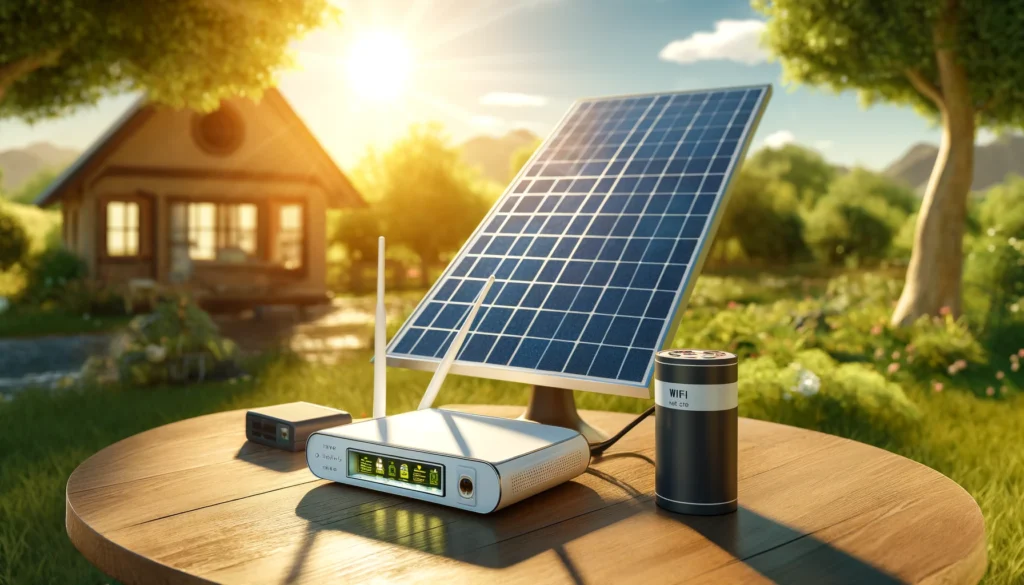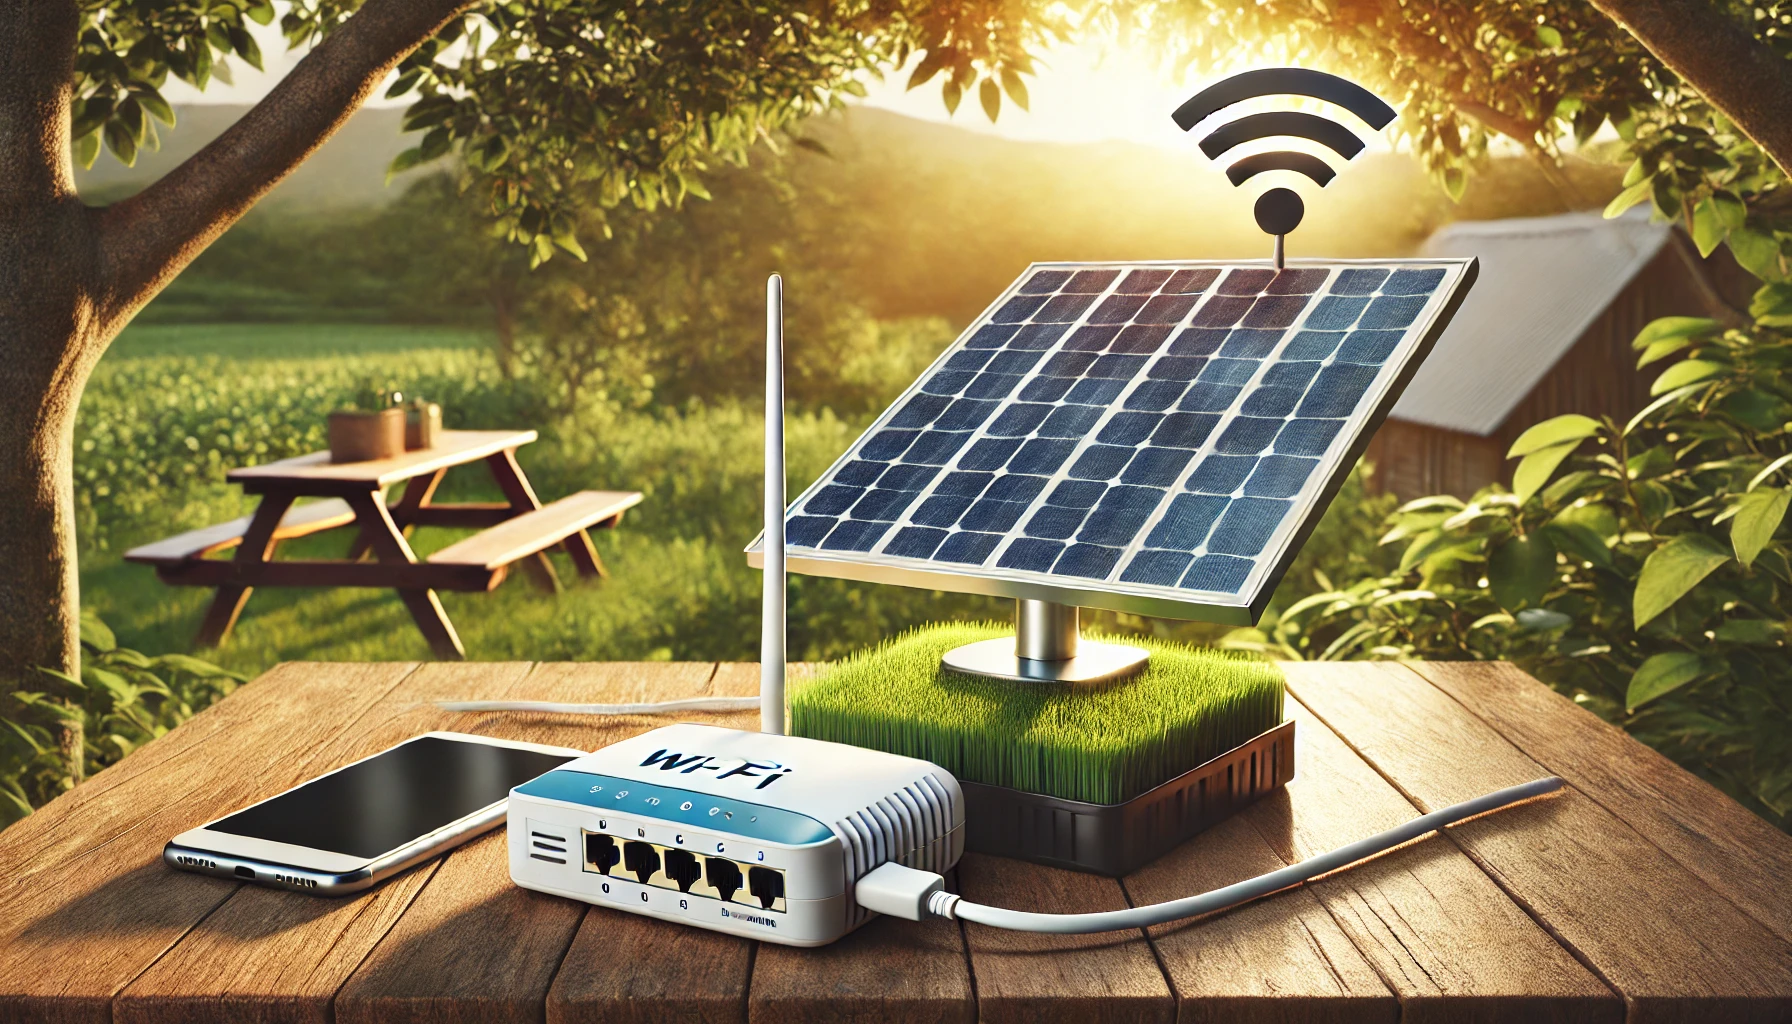
Running a Wi-Fi router in a remote area or during a power outage using solar energy is not only possible but also practical. Here’s a simple guide on how to set up a solar power system that can keep your router running 24/7.
1. Understand Your Router’s Power Needs
- Most Wi-Fi routers use between 5-15 watts of power. You can check your router’s power rating on its label or manual.
- For example, if your router uses 10 watts of power, it will need about 240 watt-hours (Wh) for 24 hours (calculated as 10W x 24 hours).
2. Choose the Right Solar Panel
- A 100-watt solar panel is ideal for this setup. It can produce enough energy (about 300-500 Wh per day) to charge your battery during sunlight hours, depending on weather conditions and location.
- Opt for monocrystalline panels because they are efficient and work well even in low-light conditions.
3. Get a Suitable Battery
- To keep your router powered throughout the night or during low sunlight, you’ll need a battery that can store the energy generated by the solar panel.
- A 12V, 20Ah battery (e.g., Lithium Iron Phosphate (LiFePO4) or deep cycle lead-acid) is a good option. It provides approximately 240 Wh, which is enough to run your router for 24 hours.
- Lithium batteries are recommended because they are lighter, more efficient, and last longer compared to lead-acid batteries.
4. Install a Charge Controller
- A charge controller is crucial as it regulates the power going from the solar panel to the battery, preventing overcharging and ensuring your system runs efficiently.
- A 10A MPPT (Maximum Power Point Tracking) charge controller is ideal. MPPT controllers are more efficient than basic PWM controllers and maximize the power output from the solar panel.
5. Connect Your Wi-Fi Router
- If your Wi-Fi router uses DC power (e.g., 12V), you can connect it directly to the battery through the charge controller. This setup is simple and doesn’t require extra equipment.
- If your router needs AC power, you’ll need a small inverter (like a 150W pure sine wave inverter) to convert the DC power from the battery into AC power for the router.
6. Set Up and Position the Solar Panel
- Place your solar panel in an area with maximum sun exposure, ideally facing south (if you’re in the Northern Hemisphere) and at an angle equal to your latitude to capture the most sunlight.
- Ensure the battery and other components are housed in a dry and ventilated space to avoid overheating or damage.
7. Monitor the System and Make Adjustments
- Regularly check your battery level using the charge controller’s display or app (if available) to ensure it’s charging properly.
- Clean the solar panel occasionally to keep it efficient. Dust and debris can reduce its energy output.
Summary
By setting up a 100W solar panel, a 12V battery, and an efficient charge controller, you can easily power your Wi-Fi router for 24 hours using solar energy. This setup is perfect for remote locations, camping, or ensuring uninterrupted internet access during power outages. With the right components and careful setup, you can create a reliable and sustainable power solution for your router.
