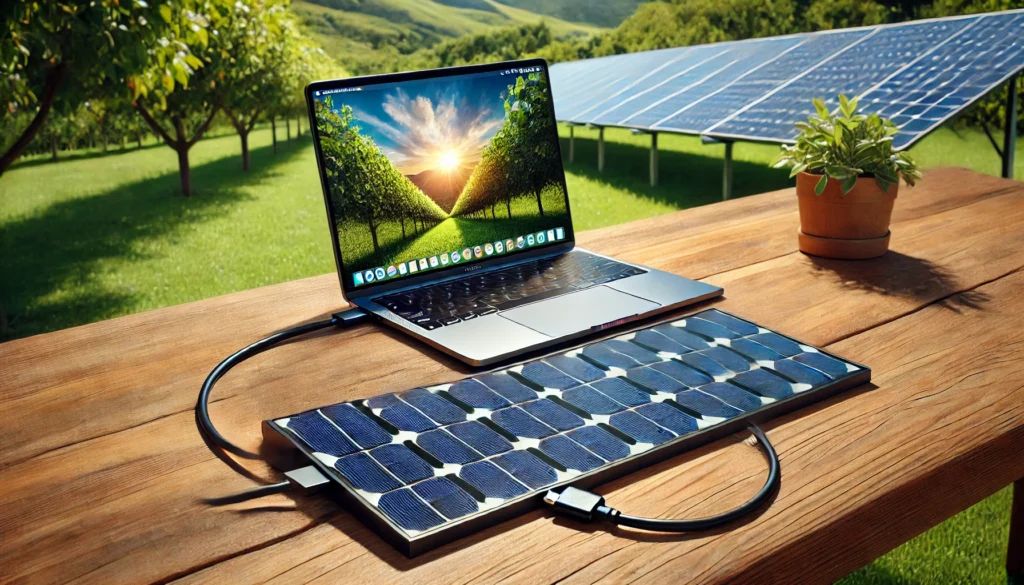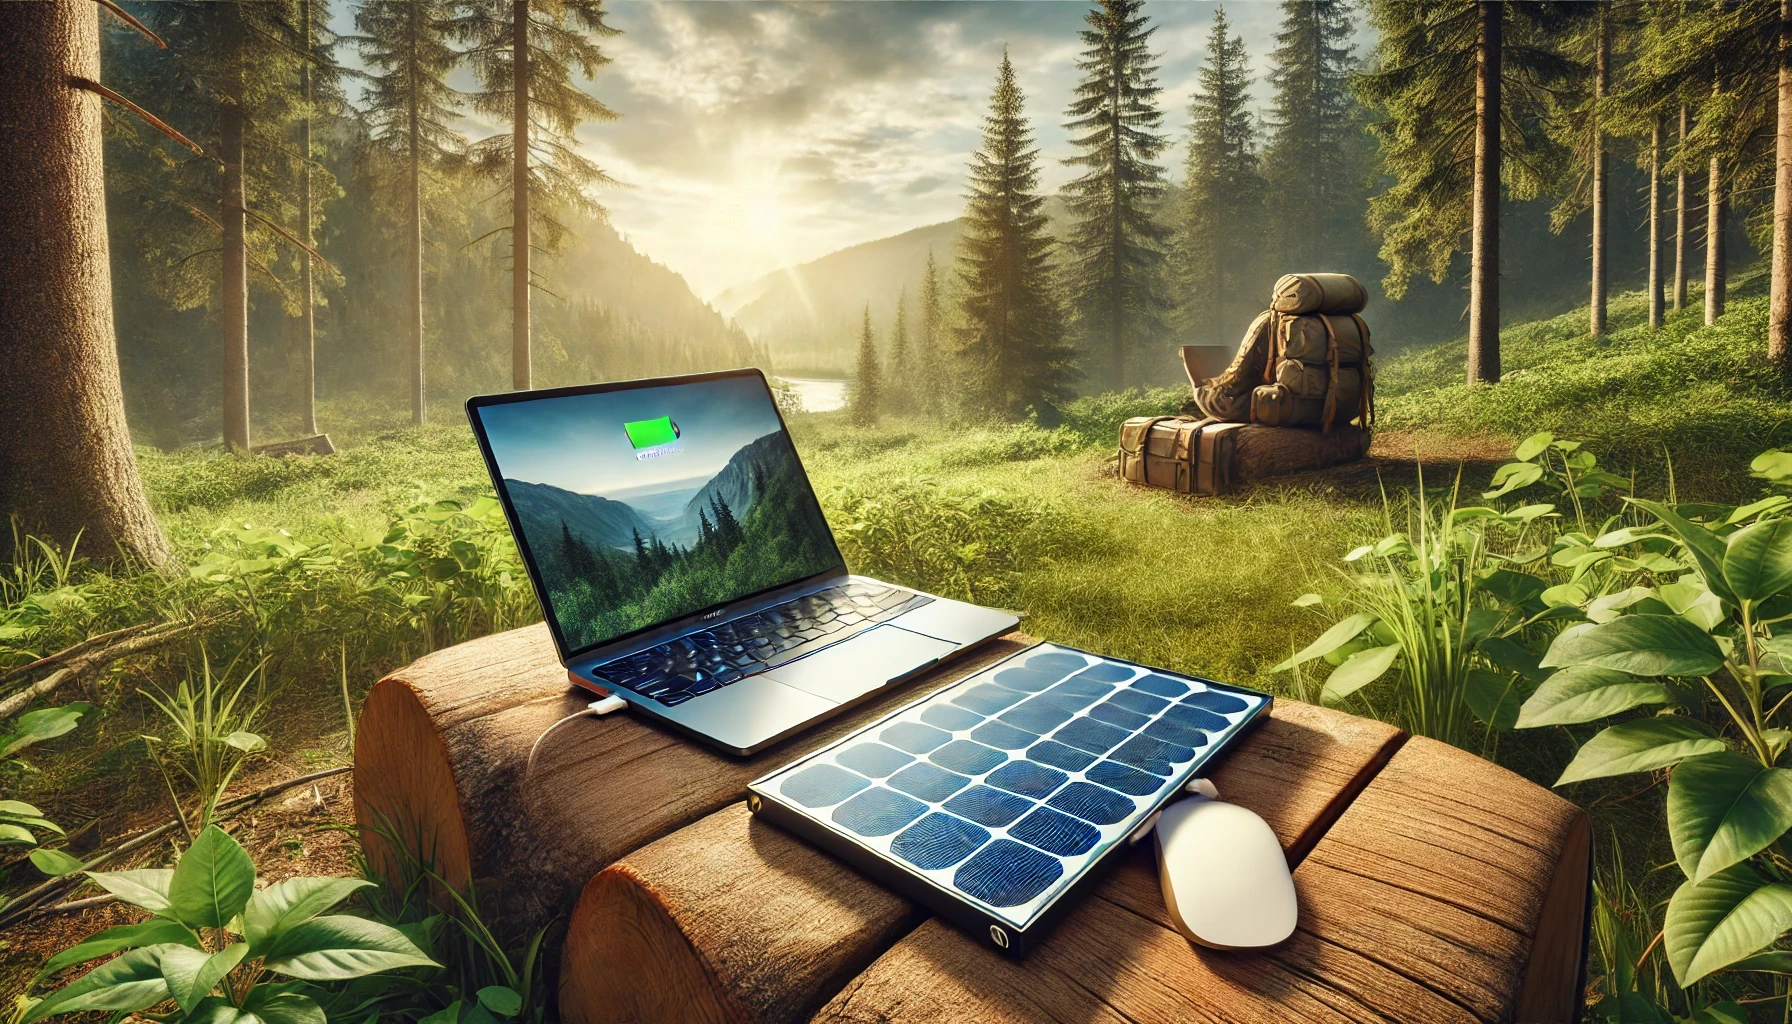
Charging your Apple MacBook with a solar panel is an efficient and eco-friendly solution, especially when you’re traveling, camping, or working remotely. However, it requires the right setup and equipment to ensure you have a reliable and safe power supply. In this guide, we’ll walk you through the configuration and requirements to charge your MacBook using solar energy.
1. Understanding Your MacBook’s Power Requirements
Before you start, it’s crucial to understand your MacBook’s power needs:
- MacBook Air: Typically requires around 30W – 45W.
- MacBook Pro: Depending on the model, the power requirement can range from 61W to 96W.
You’ll need a solar panel setup that matches or exceeds these power requirements to ensure efficient charging.
2. Choosing the Right Solar Panel
For charging your MacBook, it’s important to select a high-efficiency solar panel that can deliver enough power. Here’s what you should look for:
- Wattage: Opt for a solar panel with a capacity of at least 60W – 100W. This ensures that you have enough power, even during cloudy conditions or low sunlight.
- Portability: Choose a foldable or portable solar panel that is lightweight and easy to carry. This is especially useful if you’re on the go or using it for outdoor activities.
- Compatibility: Make sure the solar panel supports USB-C or DC output, as these are commonly compatible with MacBook charging systems.
3. Using a Solar Charge Controller or Power Station
MacBooks are sensitive to voltage fluctuations, so it’s essential to use a solar charge controller or a portable power station to regulate the power coming from the solar panel:
- Solar Charge Controller: This device stabilizes the voltage and ensures the solar panel output matches the MacBook’s power input requirements. A solar charge controller with USB-C PD (Power Delivery) support is ideal, as it can directly connect to the MacBook’s USB-C charging port.
- Portable Power Station: Another option is to use a portable power station (such as a Jackery or EcoFlow). These devices store solar energy and provide a stable power output with various port options, including USB-C and AC outlets. Simply connect your solar panel to the power station and use your MacBook’s charger to draw power from it.
4. Essential Cables and Adapters
To connect your MacBook to a solar panel setup, you will need specific cables and adapters:
- USB-C Cable: If your solar panel has a USB-C PD output, use a high-quality USB-C cable compatible with your MacBook. Make sure it supports fast charging and can handle the power output required by your device.
- DC-to-USB-C Adapter: For solar panels with DC output, a DC-to-USB-C adapter is necessary. This converts the DC power from the solar panel to the USB-C format that your MacBook accepts.
- MagSafe Adapter (if applicable): If you have an older MacBook model that uses MagSafe, you’ll need a compatible MagSafe-to-DC adapter to connect it with your solar setup.
5. Setting Up the Solar Panel
Once you have all the necessary equipment, follow these steps:
- Unfold and Place the Solar Panel: Set up the solar panel in a sunny location with maximum sunlight exposure. Make sure it is angled correctly to capture the most sunlight.
- Connect the Solar Panel to the Charge Controller or Power Station: Attach the solar panel’s output cable to the charge controller or portable power station. Ensure all connections are secure to avoid power fluctuations.
- Connect Your MacBook: Use the USB-C or MagSafe adapter to connect your MacBook to the charge controller or power station. If you’re using a power station, plug in your MacBook’s charger to the appropriate port.
6. Tips for Efficient Solar Charging
- Charge During Peak Sunlight: For the best results, set up your solar panel during peak sunlight hours (typically between 10 am and 4 pm). This ensures the solar panel receives enough power to charge your MacBook efficiently.
- Monitor the Charging: Check your MacBook’s battery indicator to make sure it is charging properly. Keep an eye on the power output from the charge controller or power station to avoid overloading.
- Store Extra Power: If you’re using a portable power station, charge it fully during the day. This way, you can use it to power your MacBook at night or when sunlight is limited.
7. Safety Considerations
- Avoid Direct Connection: Do not connect your MacBook directly to the solar panel without a charge controller, as voltage fluctuations could damage your laptop.
- Use Quality Cables: Always use high-quality cables and adapters that are compatible with fast charging to ensure safe and efficient power transfer.
- Protect Your Equipment: Keep your solar panel and other equipment dry and secure to avoid damage and ensure long-term use.
Conclusion
Charging your Apple MacBook with a solar panel is a convenient and sustainable solution for outdoor enthusiasts, travelers, and remote workers. By using the right solar panel, cables, and power regulation devices, you can safely and efficiently charge your MacBook wherever you are. Follow these steps and tips to set up your solar charging system and enjoy the benefits of clean, renewable energy for your devices.
